Alright girls, let’s talk skincare. As you’ve seen in my recent posts, I’ve been doing my best to keep my skincare game tight during quarantine. TBH I’m always a skincare girl but more so than ever, I’m wearing less makeup and tryingggg to be diligent about my skin. After all, good skin means less time getting ready/makeup and you know I’m all about that easy life since we can’t run out to get a quick facial (which I usually love, not gonna lie), I wanted to learn how to do an easy at-home version. Not only is this good for our current situation but I’m hoping I can swap in my own DIY facials in between seeing the professionals to budget better. I actually really enjoyed doing this and learning from some new tools and articles out there.
Step 1: Cleanse
First up, cleanse your face and take off any makeup you might have on. You definitely want to start this situation with clean skin and these budget headbands are good if you don’t want to mess with your hair. I’m obsessed with this Cleansing Balm to remove makeup or honestly any grime that’s on my face even if I’m not wearing makeup. I’m a big fan of how this balm doesn’t strip your skin and it’s been a game-changer for me in general. If you want to get fancy, now is a good time to give yourself a little facial massage as you’re working the balm in. I also finally starting diving into Tula products and this cleansing oil is becoming a new favorite too (love the convenience of the pump!).
Step 2: Exfoliate
Everyone has a different exfoliating style so just do your thing here depending on your skin type. Personally, I like something you can really feel (like this mineral scrub). It’s really gritty and leaves my skin feeling so smooth after. Use a wet cloth like this to gently remove any residue from the product. These Peel Pads are great too if you’re short on time.
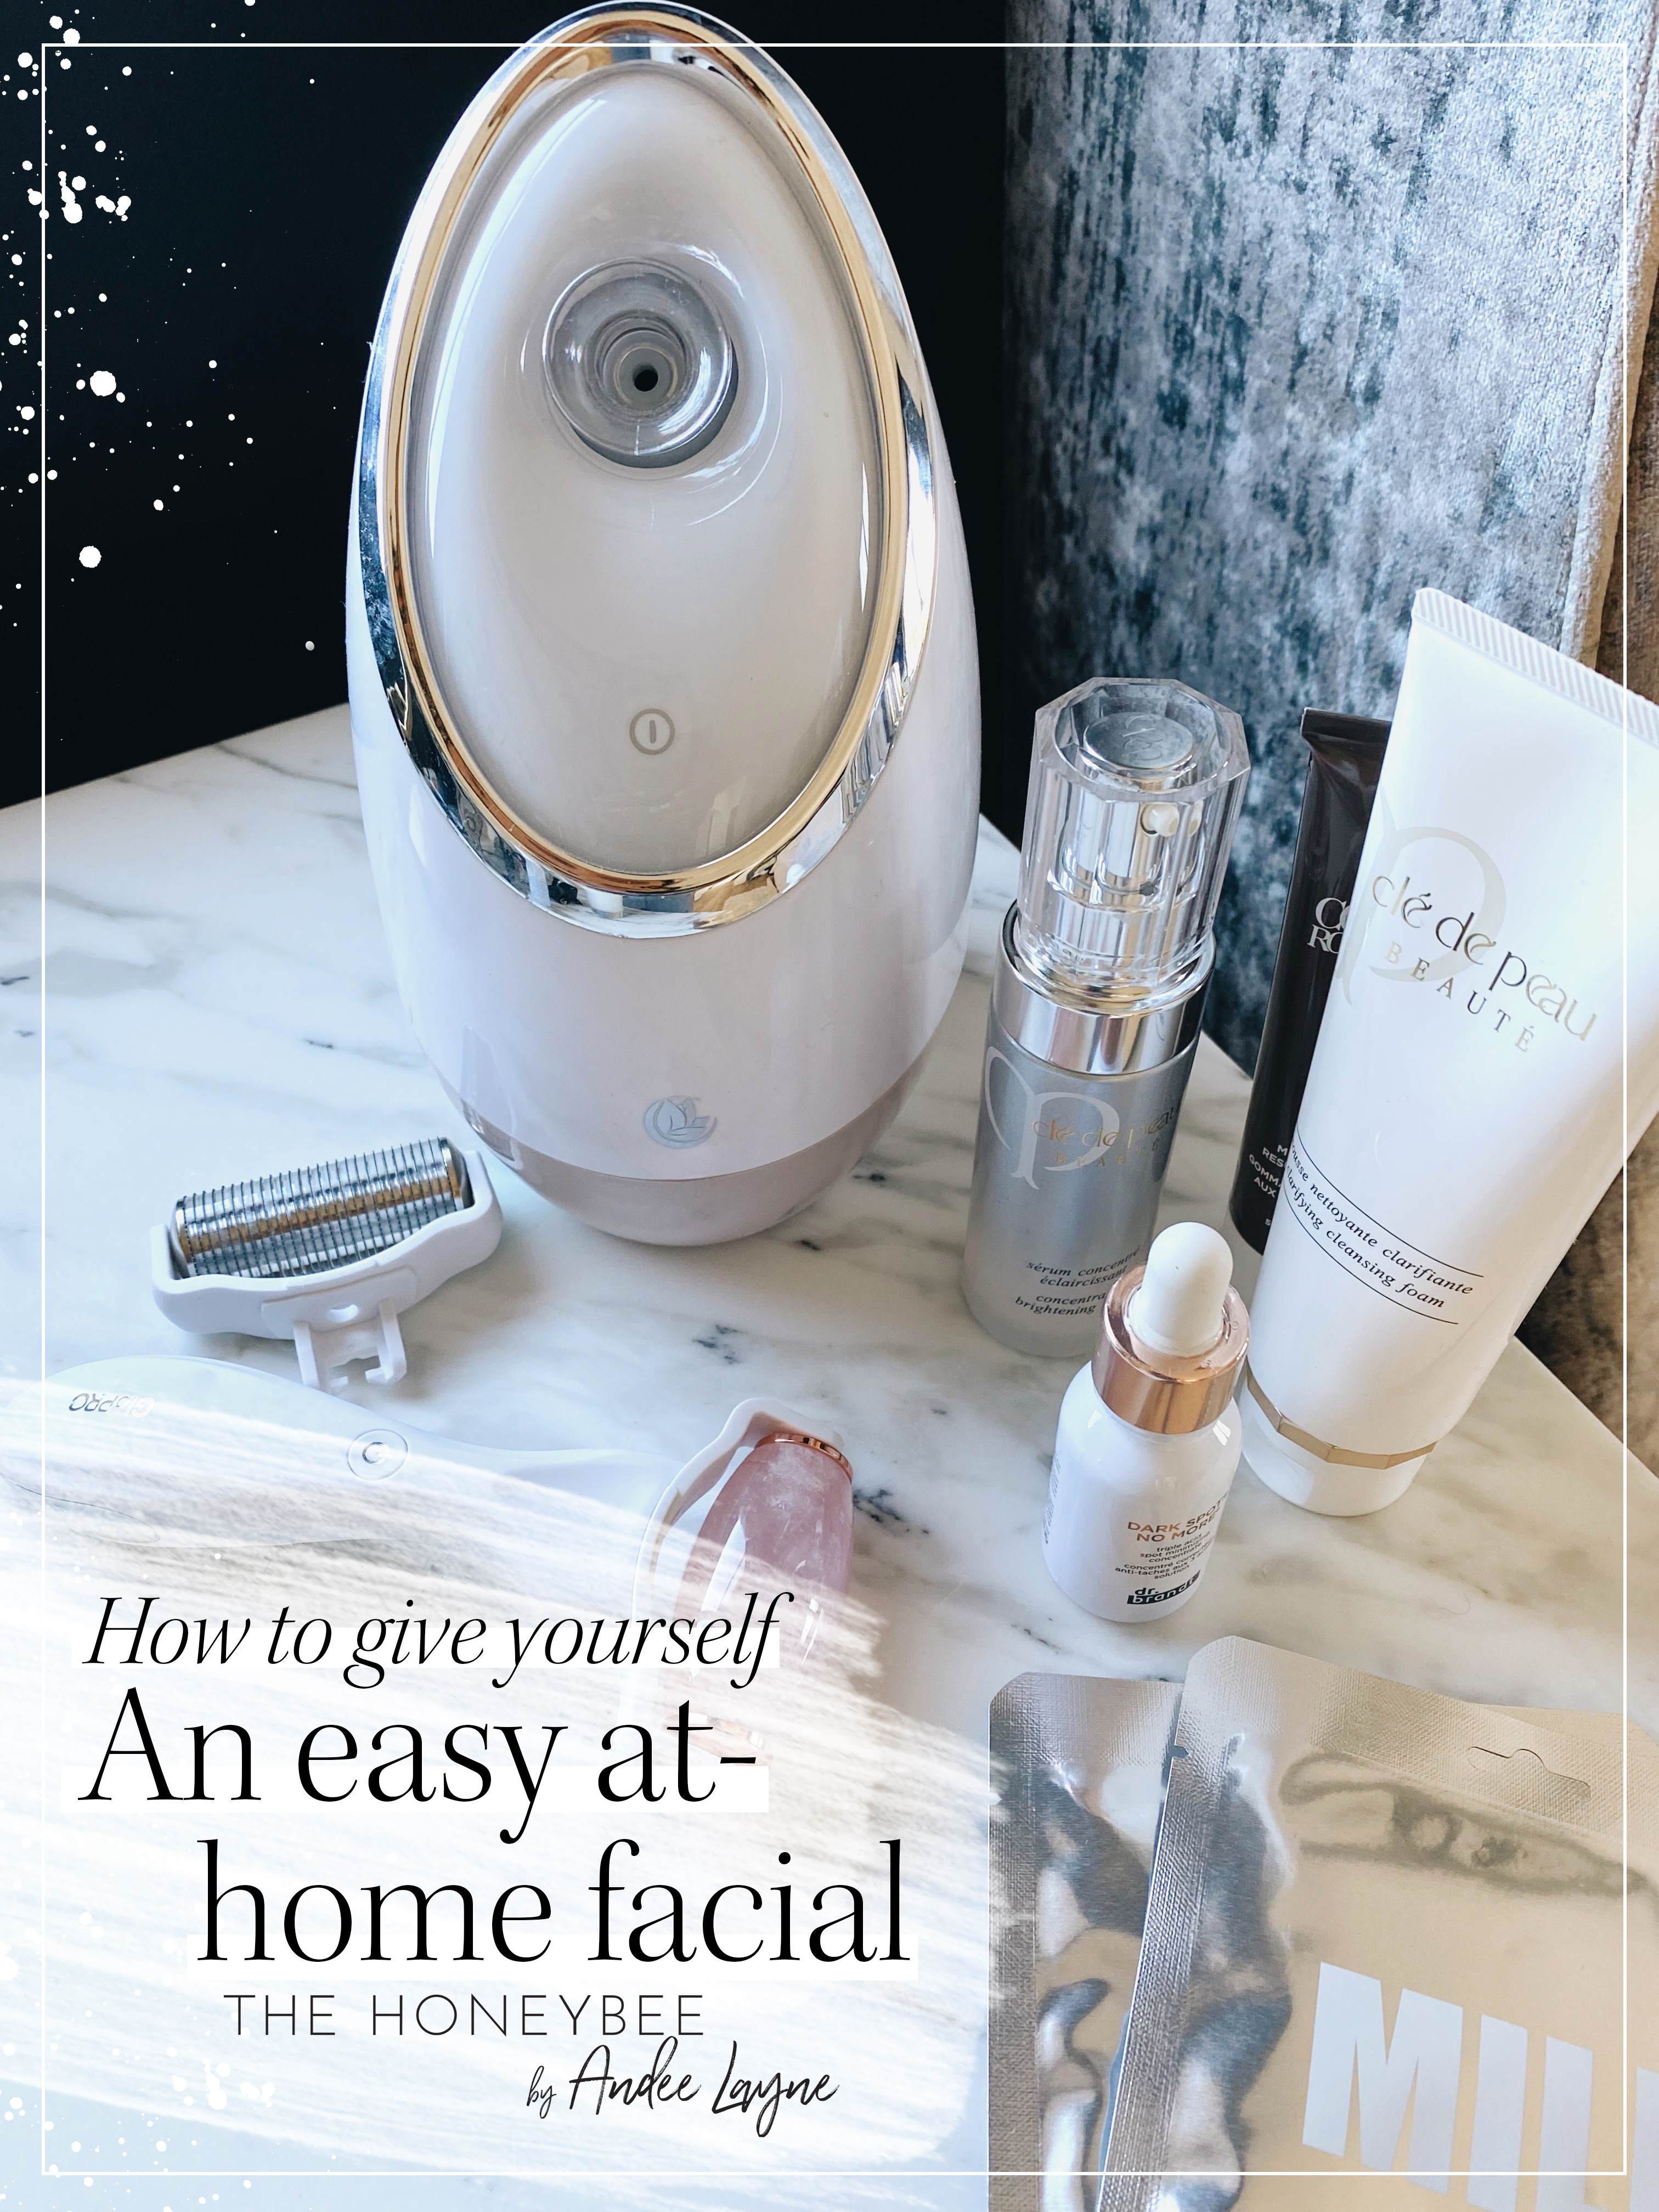
Step 3: Steam and Extract
Now it’s time to open the pores so that the products to follow can sink in deeper with a quick steam. This highly-reviewed steamer was on my to get list but came across this budget option on Amazon that honestly works great for $40! Either way a facial steamer is definitely a must for an at home facial. Steam increases the temperature of your skin, which in turn heats the debris in your pores. Once your pores are open, it’s easier to clean the skin and rid it of any congestion. While I try my best to leave extractions to the professionals, I must CONFESS i’ve always been a picker. Using the steamer and also this tool kit helps to do them properly and lessen the risk of me damaging my skin. I also purchased this black head suction device about six months ago (gross I know, but it’s kind of addicting). Both tools are great for extracting black heads but pro tip, if you get the suction device, start on level one or two. I got really excited (and a little carried away) and took mine to a level five which left small red marks after. So don’t get carried away like I did 😉 I also just ordered this Pore extractor & Serum Infuser and can’t wait to test it out. It sold out at Sephora but is still in stock HERE.
Step 4: Mask
Alright so again, you will just need to switch things up depending on what your skin needs. This is basically the time to feed your skin or fix issues with a face mask. Below are some of my favorite masks depending on what’s going on and whether you’re looking to hydrate, calm, brighten, detox, etc. Just remember that you already exfoliated so now isn’t the time for an exfoliating mask. I personally like to hydrate with this one or this clean beauty hydrating mask. Next on my list is to find a new sheet mask . PLEASE SHARE if you girls have one you love!
Rinse your face with water after the mask is complete and gently use a cloth again if needed to wipe off excess.

Step 5: Tone
Now use a toner to balance your skin and hydrate it while it’s super clean and open from the steam. I lalalove this easy toner spray and use it almost daily.
Step 6: Serum, Moisturize and Eye Cream
Finally, you basically end with your normal skincare routine like a serum, moisturizer and eye cream (this eye cream has been a go to for years but also just got this clean eye cream and loving so far!). Obviously tons of options for your skincare routine essentials so just use whatever you have. Layer the serum first (this one is worth every penny) , then moisturize with a moisturizer (I like to use this one with SPF for my face) . If you wanna go a little bit extra, end the facial with a hydrating lip mask like this one or this lip scrub i’ve been using that exfoliates so well (you only need a tiny bit but love this stuff!) .And that’s it! This can take anywhere from 10-20 minutes depending on how much time you’ve got to relax and steam, but honestly, it can be sped up if you’re in a rush.
I hope you girls like this post and the breakdown. I tried to give as much detail as possible so you can reference back to. Let me know if you attempt or have questions! You can also see some more of my skincare tips and faves on this post and here for my morning routine.